
Kirby Allison, founder of the Hanger Project, shows you how to remove scratches from your leather bag in 4 simple steps. If you have a bag that is looking rough, don’t worry it’ll look new in no time!
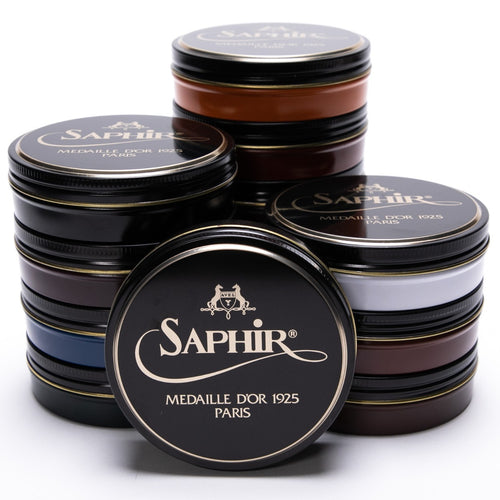
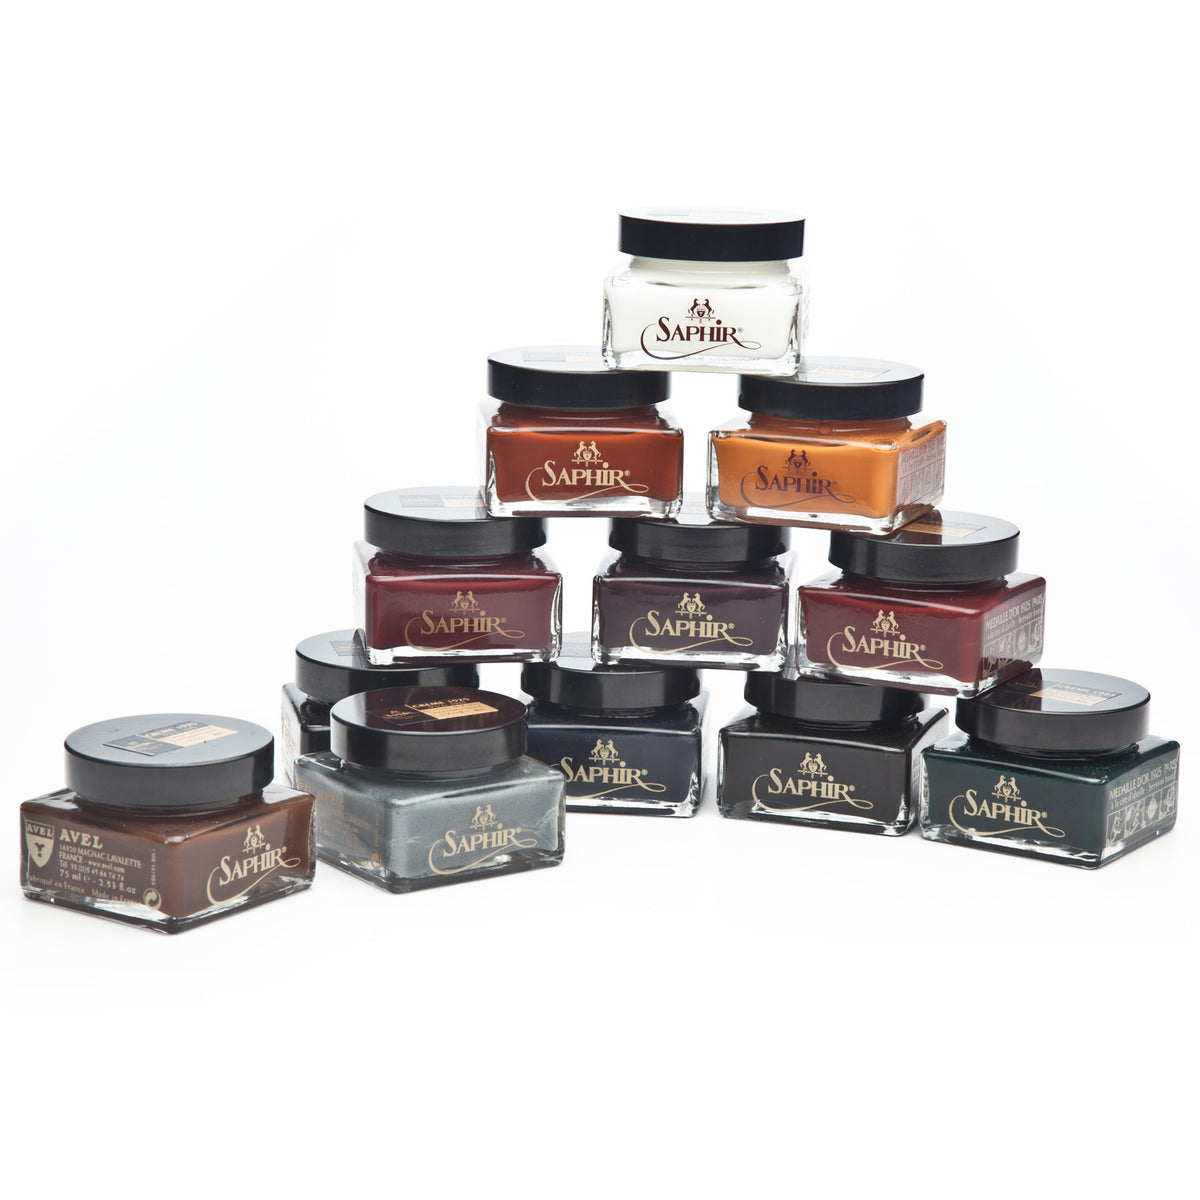
Products used in this video:
Transcription
Hi, I'm Kirby Allison and we love to help the well-dressed take care of their wardrobes. In today's video, I'm excited to show you how to remove scuffs and scratches from your leather bags. With a little bit of attention and the right products, you can easily extend the life of your bag and keep it looking great. If you have any questions or comments during this video, please ask them in the comments section below. I enjoy getting back to as many of those as possible. In today's video, I'm gonna be repairing my favorite briefcase.
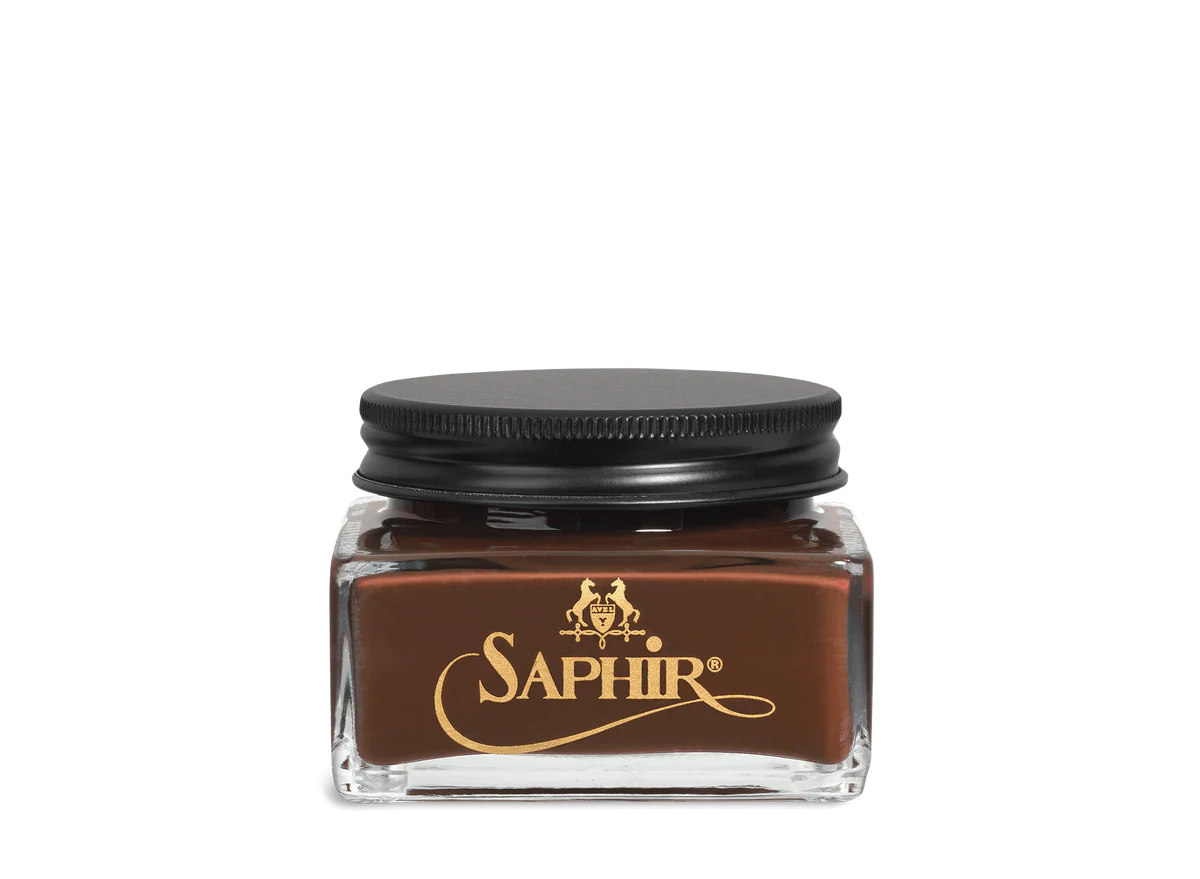
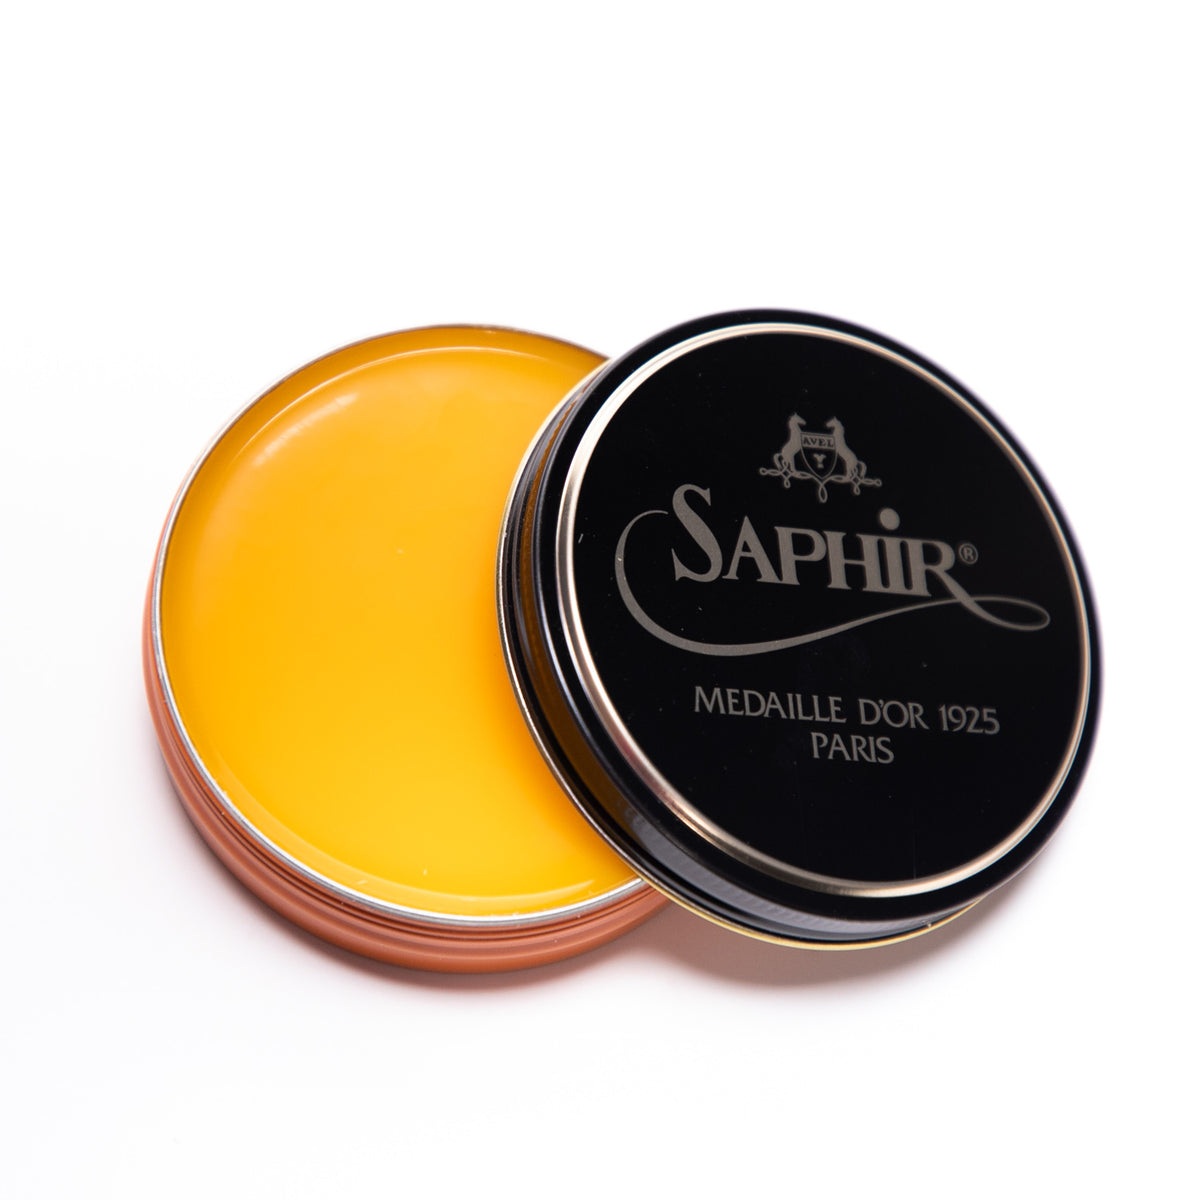
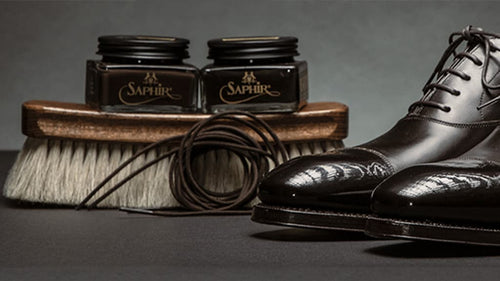
The products we're gonna use in this video can be used on almost any large leather accessory from a briefcase, to a piece of luggage, or even a portfolio. There's three products that we have here at The Hanger Project from Saphir that are great for large leather goods. The first one is the Saphir Juvacuir recoloring cream. The Saphir Juvacuir is a recoloring and repair cream used to recolor damaged leather. This formulation is very similar to the Saphir Renovating repair cream, but is more fluid allowing it to be used over larger areas. It's great for more permanent recoloring of damaged leather. The Saphir Juvacuir of most fundamentally is just a formulation of pigments and resins. The pigments help add color and the resins help build up and re-smooth damaged leather surfaces. The Saphir Canadian restorative cream is a total care product specifically formulated for use on large leather accessories, like leather bags, or even leather jackets where it's important to not have waxes or color rubbing off. It's less of a recoloring cream than the Saphir Juvacuir and more like a polisher cream that you would use on shoes that'll fade on the medium turn. So it's not a permanent product, but it's a great product that's gonna nourish, rejuvenate, help provide a little bit of recoloring and a small amount of waxes to help re-wax the surface. After treating a bag with the Saphir Juvacuir, it's important to then apply the Saphir Canadian restorative cream afterwards to help seal the product and prevent any color discharge. It can also be used alone though when more permanent recoloring is not necessary and last we have the Saphir Renovating repair cream which is a resin based leather recolorint that is meant for more specific repair to small areas. The combination of resin and pigments allowed the product to fill deep scratches while recoloring. It's exceptional for use in the corners of leathers bags that are always the first to scratch and damage. Deciding which of these products to use as a function of how large and how deep the affected area is. For more regular care you would use something like this Saphir Canadian and for more permanent kind of deep repair of scuffs and scratches you would use the Saphir Juvacuir and the Saphir Renovating repair cream.
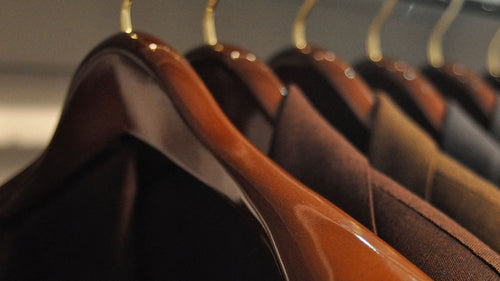
In today's video, I'm going to be repairing my favorite leather briefcase. This is a Seraphin piece from Italy. They're based in Milan and they do a lot of the bag manufacturing for the Italian houses and absolutely love this bag. It's really more of an overnight bag, but I uses a briefcase and the reason I love it so much is because it's large enough that I can really throw anything into this. It's almost like a lady's handbag. I mean it is a black hole of all of my stuff. I can also use it for short trips because it's large enough to accommodate my laptop and everything I need for work, but also a shirt, some toiletries, and even an extra pair of shoes. As you can see this bag is in pretty terrible condition. It's like most people's briefcases. That we just don't take care of them. Part of the wear is what really makes a bag personal and gives it character. But here I think it's reached the point where it needs a little bit of total care.
So first what I'm going to do is I'm going to fix some of the more affected areas using the Saphir Juvacuir. Then, I'm going to polish and condition the entire bag using the Saphir Canadian. And then I'm going to touch up some of the more damaged spots especially on the edges and some of these really deep scuffs and scratches using the Saphir Renovating repair cream.
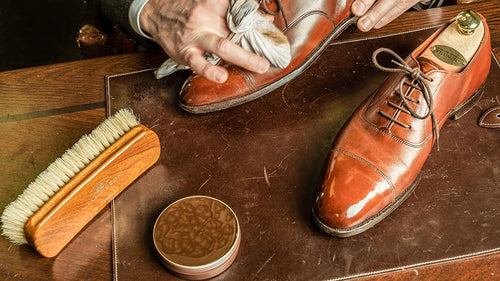
So first I'm going to apply the Saphir Juvacuir using my finger. You can also use a cotton chamois if you're worried about getting your hands dirty, but I really prefer to use my finger and applying these products because it allows me to feel the application onto the bag. So what I'm going to do is I'm just gonna look for some of the more damaged areas of the bag and just apply the Juvacuir to those specific areas. Allow the Juvacuir 15 minutes to be absorbed into the leather and to dry.
Now that the Saphir Juvacuir has had an opportunity to dry, we're going to polish the entire bag with the Saphir Canadian cream. This is going to condition the entire bag, provide a little bit of recoloring, but it's also going to help seal the Juvacuir to make sure that it doesn't rub off. I'm going to apply this since it's on a larger surface area using a cotton chamois and then we're going to allow it 15 minutes to dry. Now that the Saphir Canadian has had time to dry, I'm gonna buff it off using a horsehair brush or you can even use a cotton chamois.
So the Renovating Repair cream is the last thing you want to apply and you want to apply it to the smaller, more damaged areas of the bag. The Renovating Repair cream this is a thick cream that's almost like toothpaste and it's really not meant to be used on large areas. But for small areas that are really badly damaged, it is absolutely perfect. So, I'm gonna take some of this black Renovating Repair cream on my finger and I'm just going to apply it onto the affected areas using my finger to smooth it out. Then, after I'm done applying it simply allow it 15 minutes to dry.
Now as you can see with a little bit of effort and the right products such as the Saphir leather repair products, my briefcase has really been totally renewed. I'm actually quite surprised and impressed at just how great this looks. As you can see a lot of the surface scuffing and scratching and discoloration for the most part has been totally repaired. It's got a nice little shine to it and you know giving it a little bit of new life. And otherwise looks almost new, but still having its original character.
So to summarize, what I did to treat this leather briefcase was using the Saphir Juvacuir to fix any of the larger areas of discoloration or damage to the leather. Then I conditioned and polished the bag using the Saphir Canadian cream. Which again has beeswax, has pigment, and nourishes the leather. I used this over the entire bag and then I buffed it off after allowing it to dry for 15-20 minutes using a horsehair brush. I have to say of all the products that I used here, the Saphir Canadian is probably the must-have product. I mean this is absolutely fantastic. It did a great job taking care of this bag. It's available in a bunch of different colors from The Hanger Project and also if you don't want to introduce any pigment the Saphir Canadian is available in a neutral just for conditioning and protection of the bag. And then lastly I used the Saphir Renovating repair cream which is that you know really thick pigment and resin cream that I used just to touch up some of the more damaged areas like the edges of the bag which always become the most discolored and the most damaged.
All of these products, in addition to the largest collection of luxury shoe care accessories available anywhere in the world, of course are available on hangerproject.com. You know ones briefcase really becomes a part of their identity and so this bag although you know really beaten up has travelled the world with me. I've got some great memories with this piece and I don't think that there is anything that would have me replace this. So it's important for me to take care of this briefcase so that it can look great on the many future adventures that I'm sure we'll be on together.
In today's video I'm wearing a cream linen suit from Formosa, which is a Neapolitan tailor. As you can see it has a double pick stitch around the edge and is an absolutely great jacket or suit for summertime. These trousers have a 1 and 3/4 inch turn ups. Which again, are great for a slightly more casual suit, which linen is. I have of course my trademark white shirt. I'm wearing a yellow, silk tie from Drakes of London. And because of the long points, I'm definitely wearing a pair of our horn collar stays. These are the 2 and 3/4 inch collar stays to keep this at collar controlled and lying flat. In a beautiful linen pocket square from Simonnot Godard, which has an absolutely lovely a blue and dark navy pinstripe around the border. I also have on my Cleverly Russian Reindeer split toe derbies with a pair of linens socks.
If you enjoyed this video give us a thumbs up and please subscribe to our channel and turn on your notifications by clicking the bell to the right of the subscribe button so that you can learn whenever we release new videos. If you have any questions or comments about anything we discussed on this video, please ask them in the comment section below and of course please visit hangarproject.com where we have the largest most comprehensive collection of luxury garment care and shoe care accessories in the world, as well as, many other incredible products for the well-dressed and while you are there subscribe to our newsletter to receive notifications of new product launches, promotions, as well as, a weekly digest of all the videos we publish here on our YouTube channel. I'm Kirby Allison and we love helping the well-dressed take care of their wardrobes. Thanks for joining me.